Curated blog with news, events, listings, jobs and exciting stories about web design & web development.
How To Automate Your Work With Zapier & WPForms
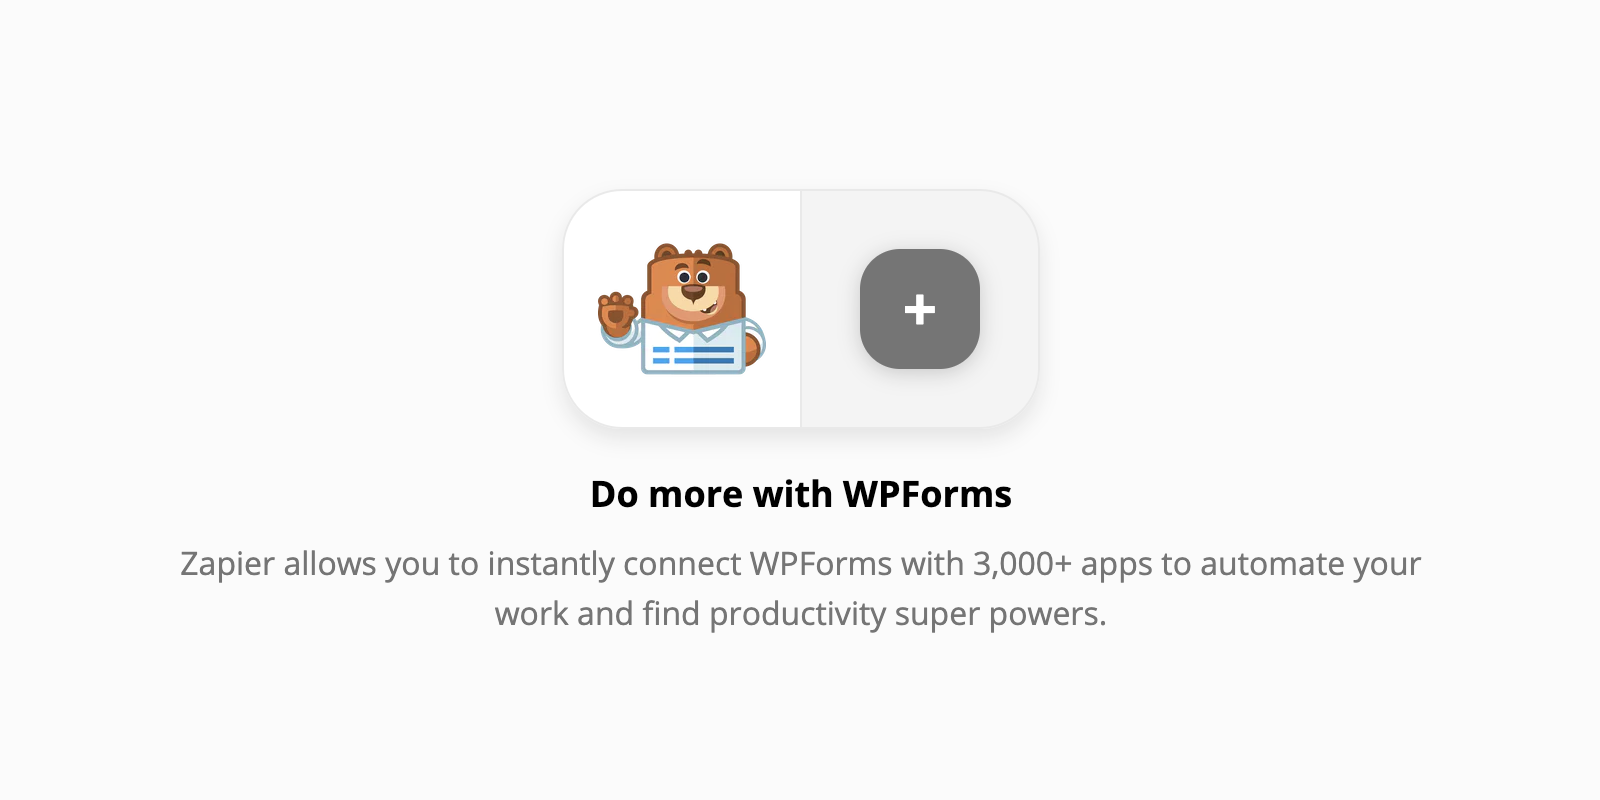
WPForms is known for easily creating all kinds of forms, such as contact forms, registration forms, checkout forms and newsletter sign-up forms. Once a user has submitted a form, you will find the entry in your WordPress admin area. So far so good. But what if you need this information in third-party services and apps? In principle, you have several options: Hire a developer? Nah, too tight a budget! Export data from WPForms and manually import it into the other apps? Great idea, but too time-consuming and complicated! However, you can automate everything with the Zapier addon from WPForms and make your life so much easier.
WPForms – The Beginner Friendly WordPress Form Builder »
WPForms Zapier Addon
To get started you need to sign up for a Zapier account. The free plan includes up to five zaps aka integrations and up to 100 tasks per month. Note that some zaps require a paid Zapier account. In addition, you need a WPForms Pro plan or higher which gets you access to the Zapier addon and many more. Let’s find out how to install the add-on:
Installation
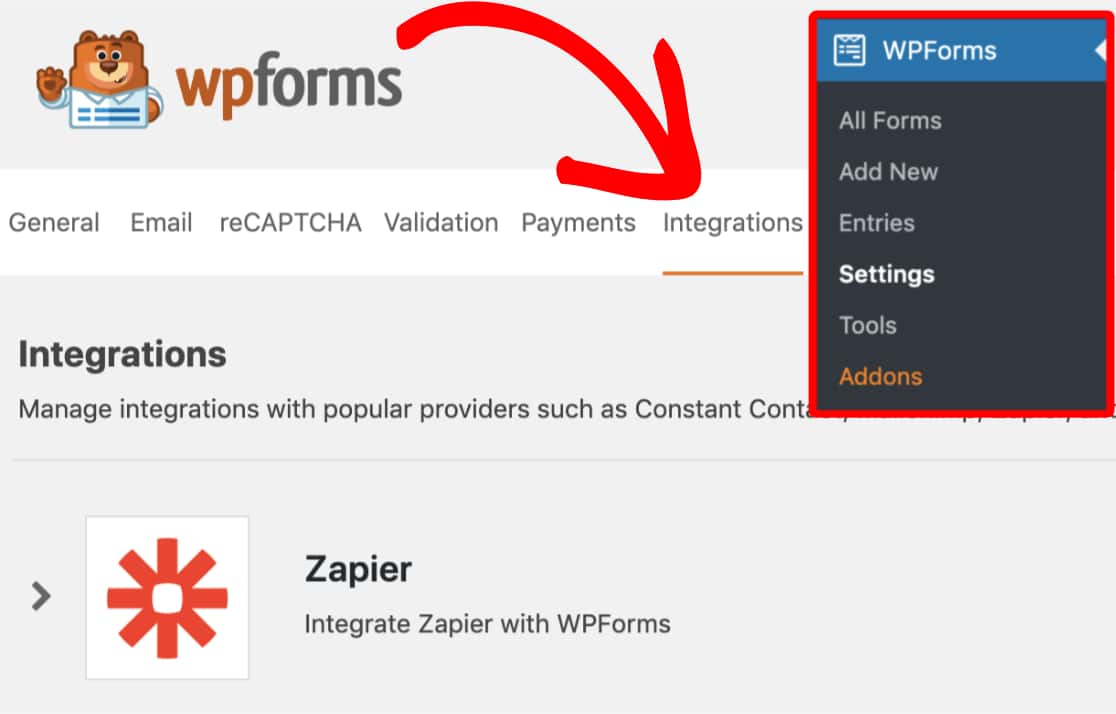
First, you need to install and activate both WPForms along with its Zapier add-on. Then navigate to WPForms > Settings > Integrations and click to open the Zapier options to get your Zapier API key.
Zap Creation


Log into your Zapier account and click on the black plus button in the upper left corner to create a new zap. Then search for WPForms and select the form builder as your first app. After that Zapier will display a Choose Trigger Event dropdown with WPForms’ New Form Entry trigger. As for now, there is only one trigger available.


After clicking the Continue button you will need to connect WPForms with Zapier. To do so, click the Sign in to WPForms button. You will then see an overlay where you need to add your Zapier API key from above installation step and the full URL of your website (including the https:// part).


Once you’ve successfully connected your WordPress site to Zapier, you will be asked to select which account you want to use for your Zap. Simply choose your site and click continue to select your form in the Customize Form Entry step.
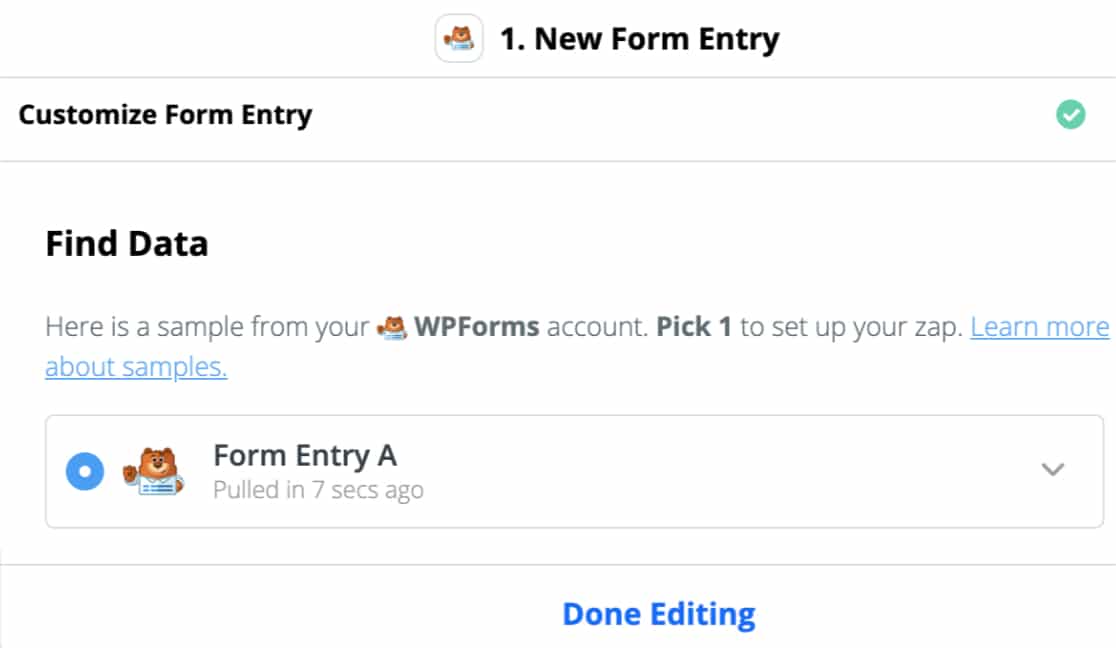
In the next Find Data step, you will be able to pull in sample entries to test your connection. By clicking on the Test & Review button, you will see your form entries populate. You can even expand these entries to see if all data has been pulled in correctly. If you click on the Test & Continue button, you will automatically be taken to the next step if everything is working properly.
Finally, you can select the app you want to connect WPForms to. Zapier then guides you through the necessary steps to automatically submit form data to your chosen service.
Now you are able to connect your (contact) form to more than 3,000 third-party apps and web services such as ConvertKit, HubSpot, Slack, Trello, Zendesk, and many more.
WPForms – The Beginner Friendly WordPress Form Builder »

Biff Codes - The Job Board for WordPress Devs
Biff.codes is on a mission to revolutionize job boards. Post and find WordPress developer jobs for free.
FTC Disclosure: We may receive a payment in connection with purchases of products or services featured in this post.


Add your first comment to this post