Curated blog with news, events, listings, jobs and exciting stories about web design & web development.

How To Create A WordPress Popup Form In 5 Steps
When it comes to popups, there are usually two fundamentally opposing opinions. Some love them and some hate them. Similar to Marmite (without which no breakfast would be complete to be honest). But one thing is for sure: Popup forms are very effective especially if they are done in the right way. All you need are two plugins: Popup Maker + Ninja Forms = Popup Forms!
Create Beautiful WordPress Forms Via Drag & Drop »
Easily Create WordPress Popup Forms
There are loads of plugins that can help you create popups for your website. Popup Maker, however, is by far one of the best because of its straightforward menus and its many versatile uses. To get you started in no time, they recently added a new guided tour for the popup editor. Ninja Forms on the other hand is a popular drag & drop WordPress form builder that is both user friendly and easy-to-use.
Step One: Download Popup Maker
From your WordPress dashboard, go to Plugins > Add New, and search for Popup Maker or go for the premium version. Click install and activate the plugin.
Step Two: Open Popup Maker
Once you’ve installed Popup Maker you will find a new tab for it in your dashboard. There are several menus there, but for now, select Add Popup.
This will open a page where you can name your popup, assign a title, set conditions for the popup, when it will trigger, set the theme, publish, etc. For the time being, let’s just stick with the basics of how to put a popup on your site.
Step Three: Add Text and Append Your Form
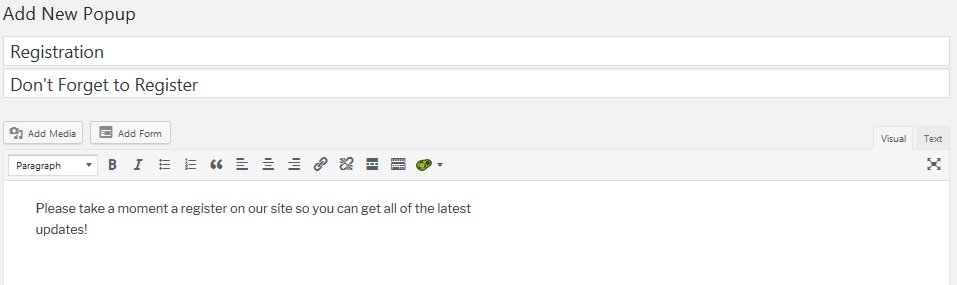
Put in some placeholder text and link this popup with a previously made contact form. Once you have set up the text in the rich text editor, adding any Ninja Form is very simple. With both Popup Maker and Ninja Forms installed side by side, you’ll see an Add Form button just above the text editor options:
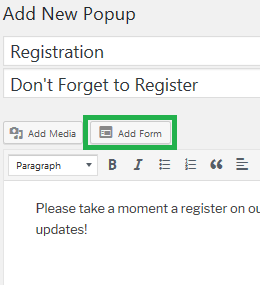
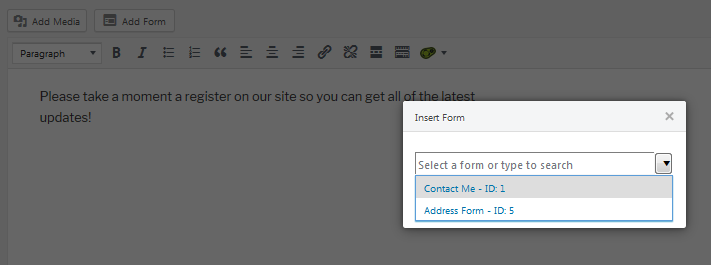
Click Add Form to see a list of all your Ninja Forms:
Now that we have a WordPress popup form created, let’s set up how and when it will be presented to your audience.
Step Four: Presenting your WordPress Popup Form
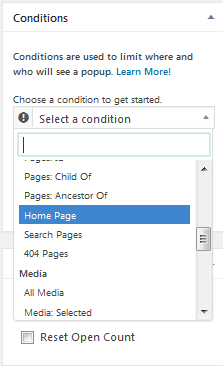
Next, we’ll want to set your conditions, triggers, and cookies which will determine how and when a popup opens. You can find the settings on the far right of the dashboard and below the text box:

To make sure the same popup doesn’t appear everywhere, we’re going to set the condition to only show on the home page:
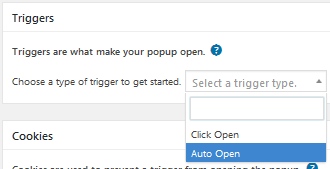
…and the trigger to automatically open when the page loads:
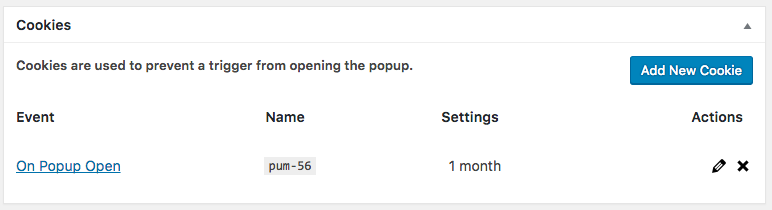
Finally, set a cookie that will tell the popup not to open again after it’s already been presented once.
Step Five: Publish!
Once you are happy with all of the settings, hit Publish in the righthand column. You should now see a very basic popup form that opens on your homepage with a simple registration form on page load.
Boost Conversions With Effective Popups For WordPress »

Biff Codes - The Job Board for WordPress Devs
Biff.codes is on a mission to revolutionize job boards. Post and find WordPress developer jobs for free.
FTC Disclosure: We may receive a payment in connection with purchases of products or services featured in this post.


Add your first comment to this post